Volume 19 Issue 9, September 2022
What's New in September?
Getting ready for the fall! So many days of 90+ temperatures has me thinking that Autumn will soon be here, or at least, wishing it was. The tropics have been a bit on the quiet side, so I will take that as a good thing. September is our peak month for hurricanes here in Florida, so anything is possible.
As for things that I have accomplished, those can all be counted on one hand. The hand that I had surgery on. It is still not comfortable enough for me to hold tools for long, so I have been concentrating of writing more than I am on designing jewelry, beads and canes. I think my hand needs the extra rest.
On the other side, I have done a lot of writing, and there are two finished first draft manuscripts, and a novella in the works. I count myself lucky that I am able to finish the pieces the first time, but going back seems to be a bit daunting, so I just raise more monarchs and take photos. Our last release was 13, and those were mostly girls. Hmmm.
We went to the zoo.

What’s New
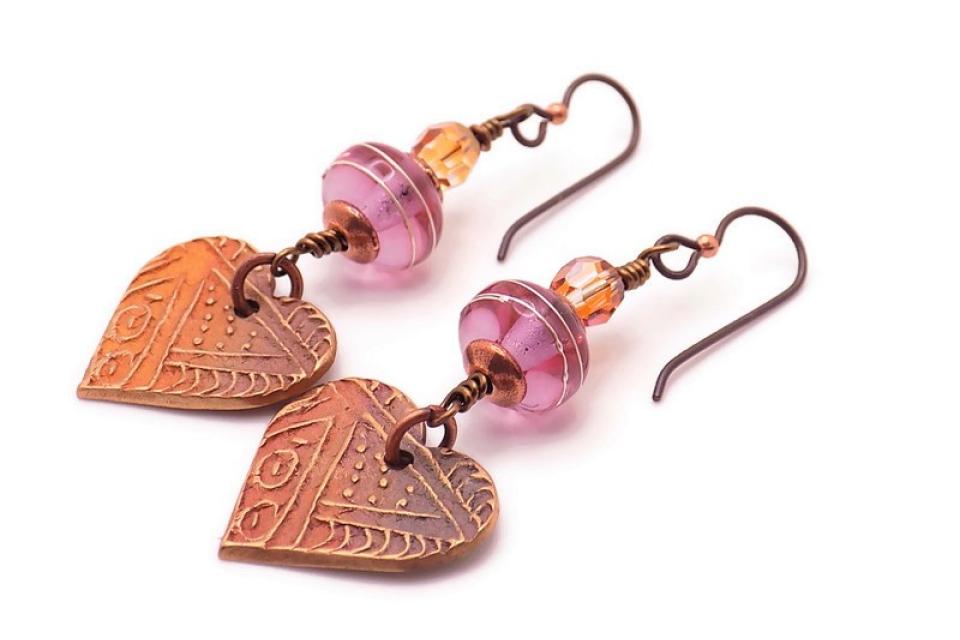
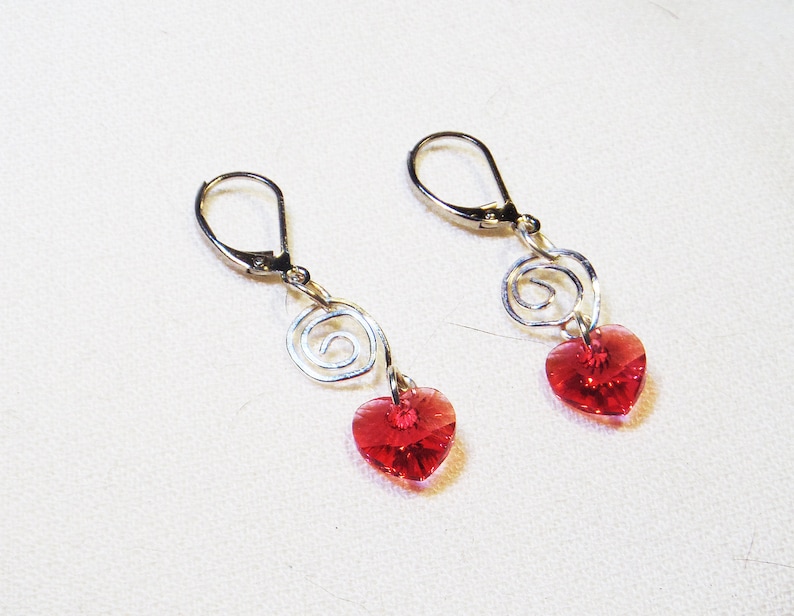
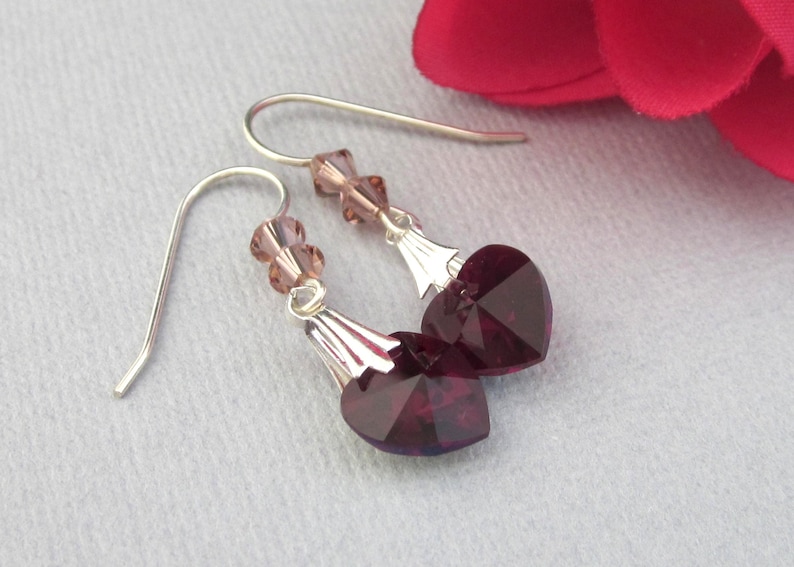
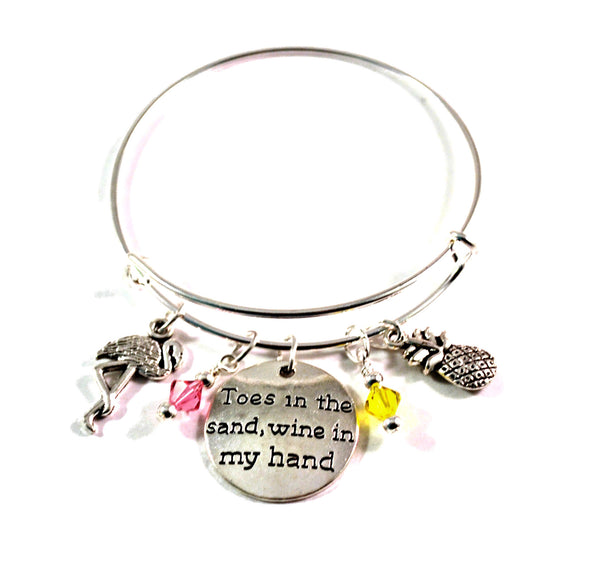
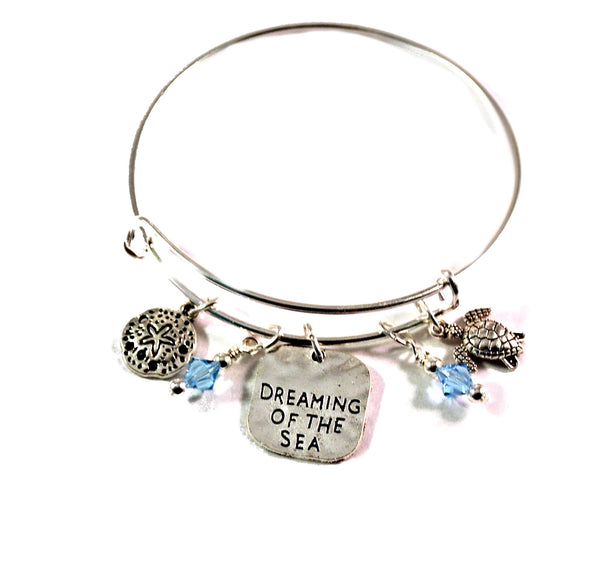
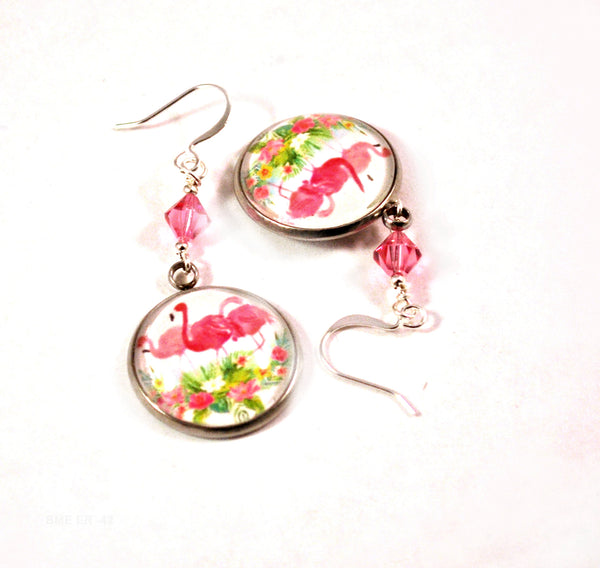
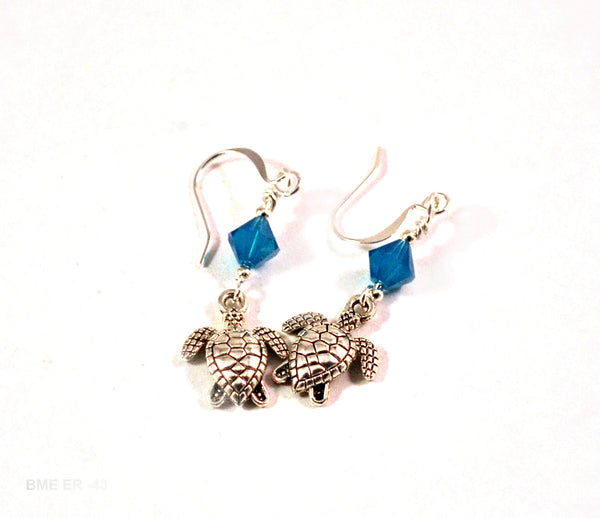
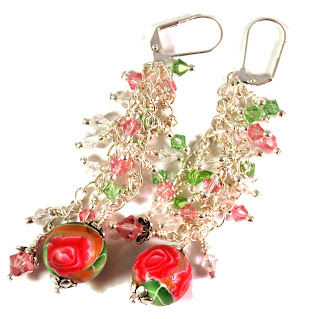
New Earrings: In addition to fractal earrings, I added some pretty flowers and other colorful beads.
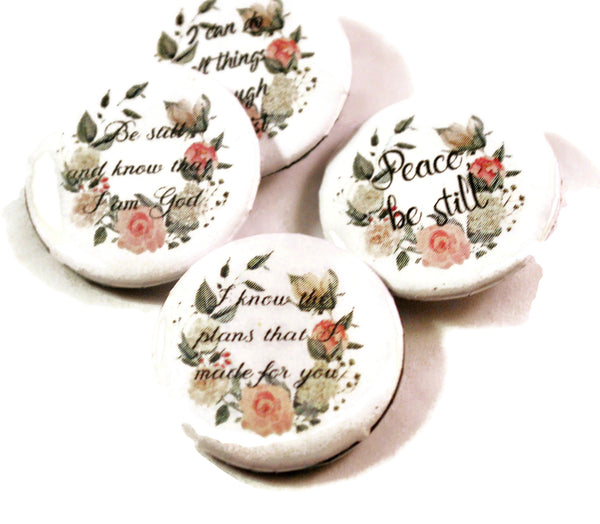
Thimbles: New Christmas and great grandma thimbles, as well as faith-based thimbles with bible verses.
New Book: The Joy of Jewelry Making Create for fun. Sell for Profit is now available on Amazon in both paperback and ebook formats.
You will find all of my beads, canes and finished jewelry on my website. www.bluemorningexpressions.com
Until next month,
Julie
Here are some of the things I have been writing:
http://www.julielcleveland.com/trivia
http://www.julielcleveland.com/the-florida-life
http://www.julielcleveland.com/writers-toolbox
http://www.julielcleveland.com/e-commerce


Things to Look Forward To:
New Products:
Pushpins: I have too many themes to mention here, but from teachers to nurses to friends, I am doing designs as quickly as I can.
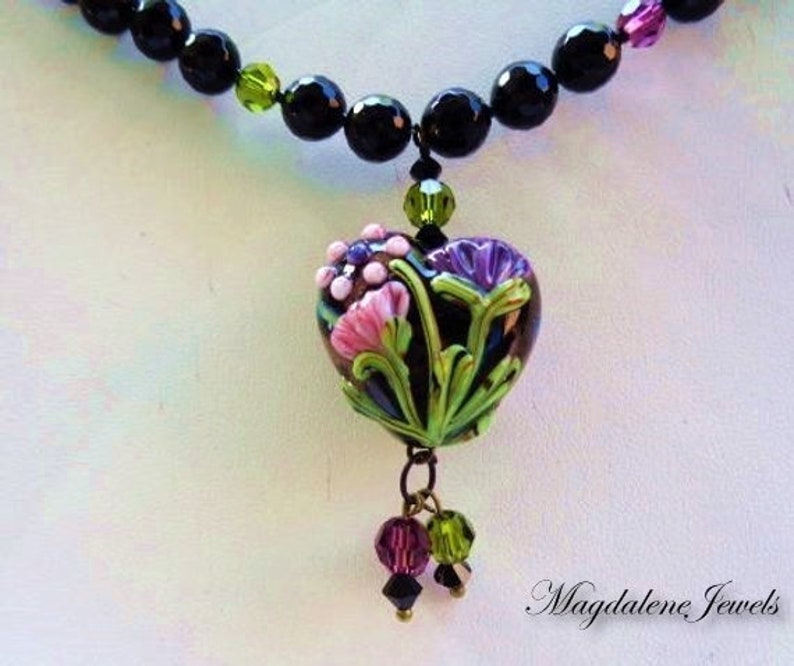
Statement Beads: Working on large beads for ZOOM calls and being on camera. Both earrings and pendant necklaces.
Prints and Posters: Bible verse posters and other art featuring hot rods and more are in production.


.jpg)